What isn’t in the box · Step 2 of 5
The cables: the drawer that never stops growing
In a sentence: A complete setup carries six to ten cables, and the one that fails is always the cheapest. Here’s what there is, and how to keep it in order.
How many cables a setup really carries
The first time you count them you don’t believe it. A normal deep-sky setup, with guiding and a controller, carries something like this:
- Power for the mount, at 12 V. The 5.5 × 2.1 mm barrel is the most common, but it isn’t universal: the EQ6-R uses its own two-pin screw-on connector, and several mounts use a 5.5 × 2.5 mm, which looks the same and wobbles.
- Power for the camera, if it’s cooled: another 12 V, and one of the thirsty ones.
- Power for the controller (ASIAIR, mini PC): one more.
- Power for the dew heater straps, usually through a controller with several outputs.
- USB from the main camera to the controller or the laptop.
- USB from the guide camera, often through the main camera’s hub.
- USB or the mount’s own control cable (or a Wi-Fi connection).
- ST-4, if you guide through that port instead of through the mount’s USB.
- The shutter release for the DSLR, if you use one, and its extension if it’s wired.
The two rules that save the most grief
Short up top, long down below. Everything from tube to mount as short as possible and tied down; from mount to ground, the long stuff. A cable hanging off the tube snags on the meridian flip, pulls on the camera and leaves you half a night of trailed frames or, worse, a collision.
And the second one: gather them into a single bundle and run it close to where the two axes cross, with slack right where it turns. When the mount crosses the meridian, what pays is the stretch that had no slack. Some modern mounts route cables through the axis; if yours does, use it.
TipVelcro ties (not plastic zip ties, which you have to cut) every 20 or 30 cm (8 to 12 in). And a colored mark on both ends of every cable: in the dark, knowing which is which without following it by hand saves you ten minutes every time.
The one that fails is always the cheapest
Long cheap USB cables are the number one cause of mid-night disconnections, and the symptom misleads you: the camera “drops out on its own”, the controller “hangs”, the mount “loses guiding”. With USB 3 (the cooled cameras), beyond 3 meters (10 ft) you need an active cable or a powered hub; with USB 2, which is what the mount and almost every guide camera use, you can reach 5 (16 ft).
Cold makes it worse: a stiff cable pulls harder on its connector, and cheap plastics turn brittle. If a cable has given you one odd failure, replace it and don’t think about it again; what costs money is the night, not the cable.
Heads-upTwo connectors that look identical may not be. Check the size (2.1 or 2.5 mm) and, above all, that the center pin is positive before you plug in anything you care about: the other way around, it breaks.
The hub: one cable instead of eight
Once you have a mount, two cameras, the focuser and two heater straps, the problem stops being which cable to buy and becomes not having enough ports for all of it. And eight cables come down from the tube to the ground, which is exactly what shouldn’t happen.
The answer is a hub mounted on the tube itself or on the mount: a box with several 12 V outputs (regulated, for the straps) and a USB hub. Then two cables leave the tube: one for power and one for data. Everything else is short and tied down up top.
There are two roads. A power box (the Pegasus Powerbox kind) next to your controller, or a controller that already has one inside: the ASIAIR has 12 V outputs and USB ports, and does both jobs.
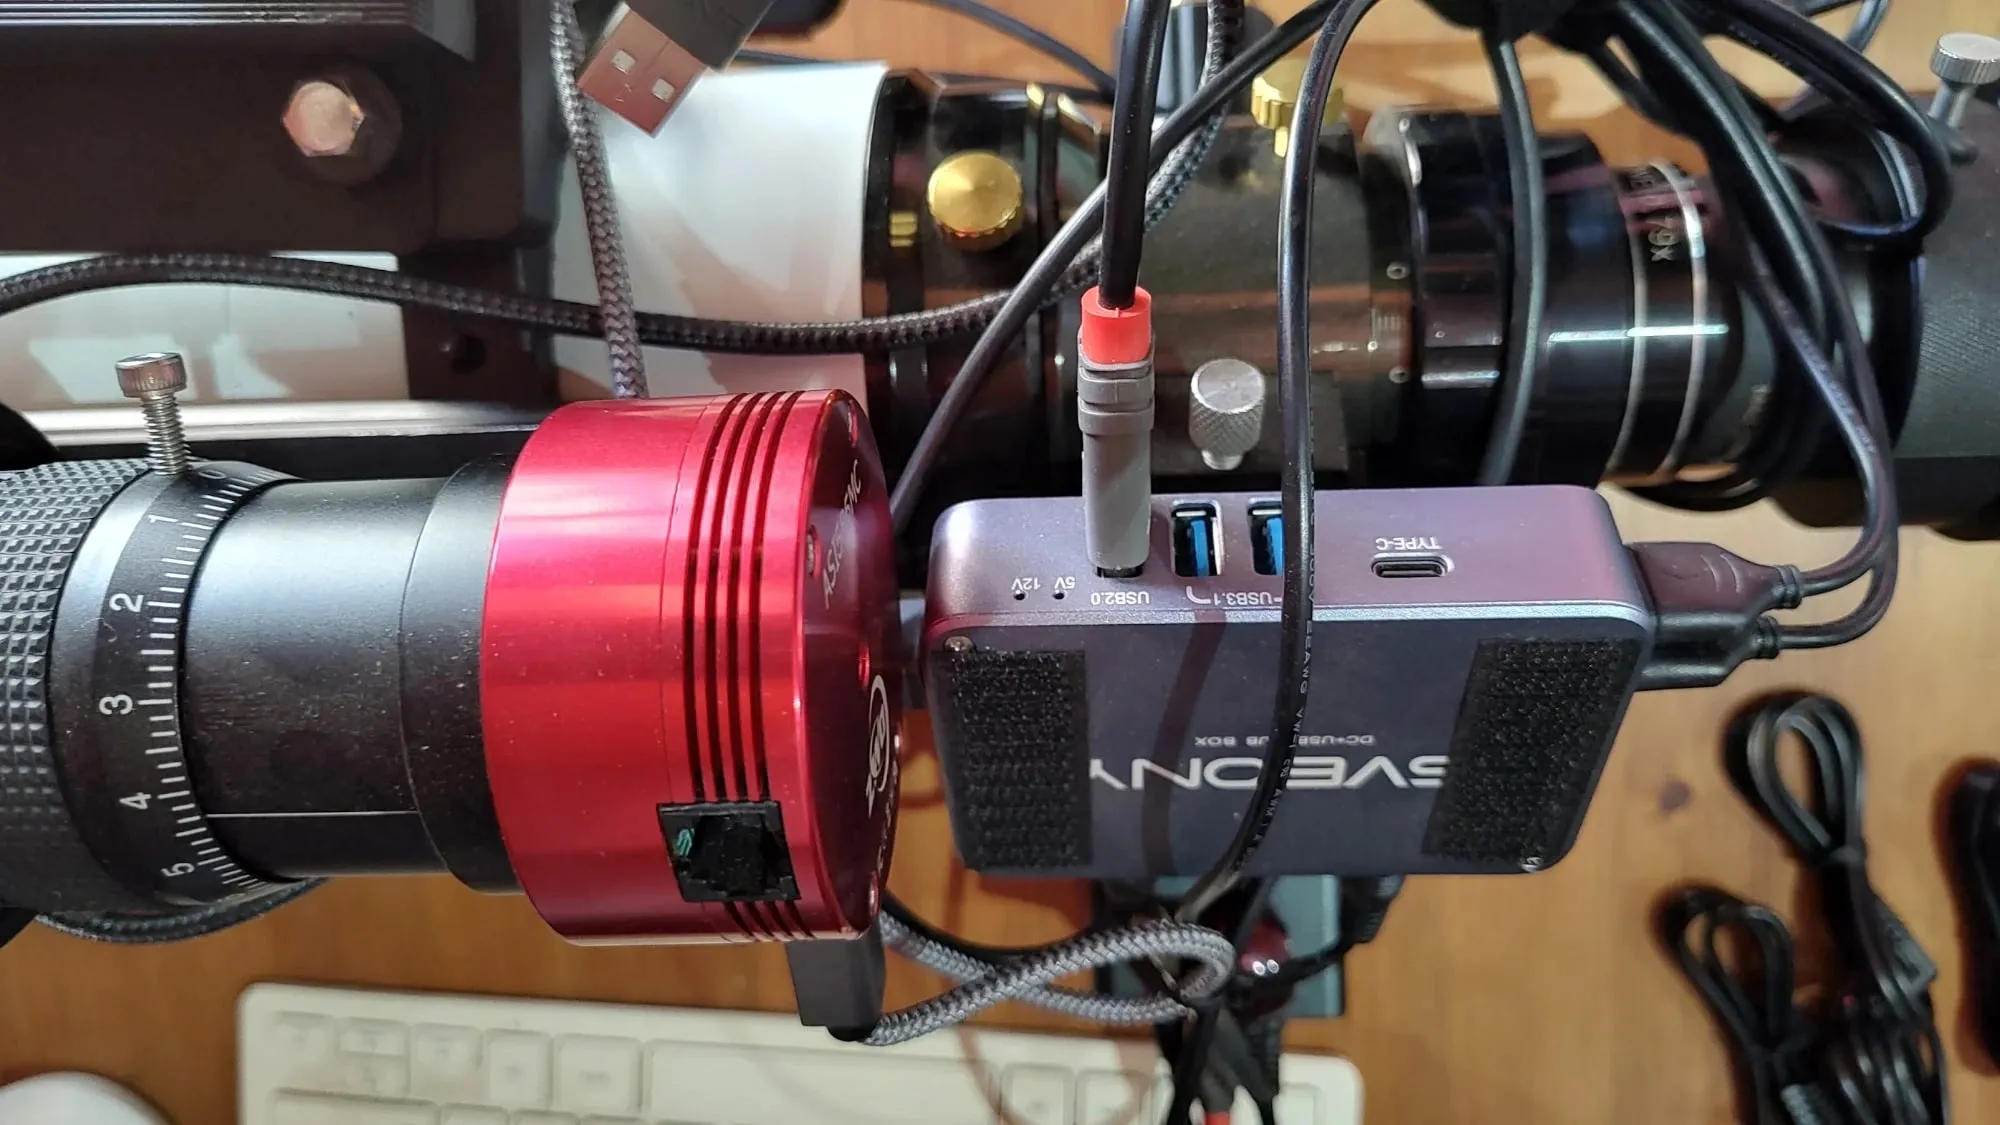
Heads-upCheck the amps on each output before you hang everything off the hub. An ASIAIR’s hub won’t power the cooling on a big camera (ASI2600, ASI6200 and the like): those go to 12 V on their own, and the manufacturer says so itself.
And something to carry them in
A bag or an organizer just for cables, everything coiled the same way and held with its own velcro. The first time you set up in fifteen minutes instead of forty, with everyone waiting, it stops looking like overkill.
And two things that go with the cables and get forgotten: a fused 12 V splitter, so you’re not hanging six things off one splice, and a spare fuse in the bag. It costs pennies and saves the night.