Processing: the essentials · Step 3 of 8
“Eight hours and I can’t see a thing!”: why it comes out black, or green
In a sentence: The freshly stacked image looks black, or green if the software brightens it for you. Nothing is wrong: it just isn’t stretched yet. It takes a moment to fix.
The first thing you’ll see
You’ve spent eight hours on the Orion Nebula, you stack, you open the result… and the screen is black, with four stars on it. Or, if the program brightens it automatically, everything is green. That’s the blank-face moment every one of us has had. Relax: the nebula is in there. These are real frames of the Wizard Nebula, freshly stacked:
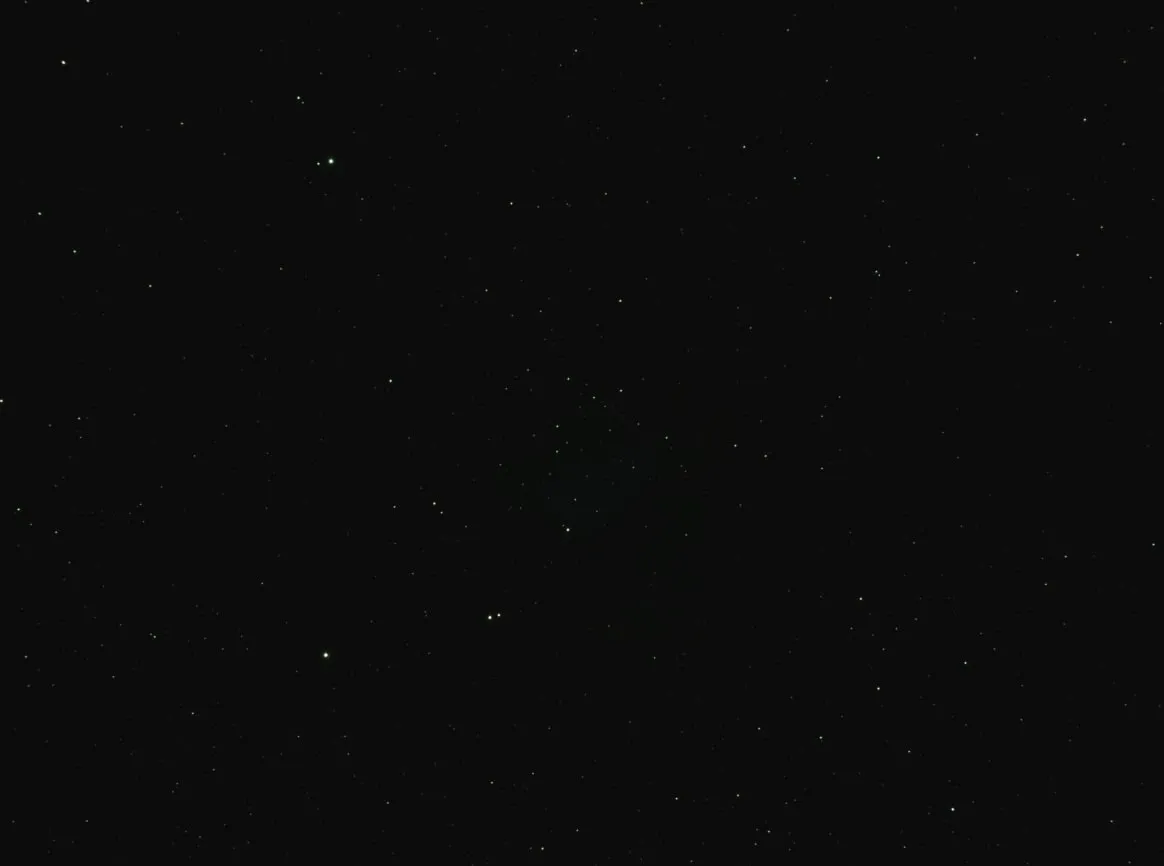
Freshly stacked: “where’s the nebula?”
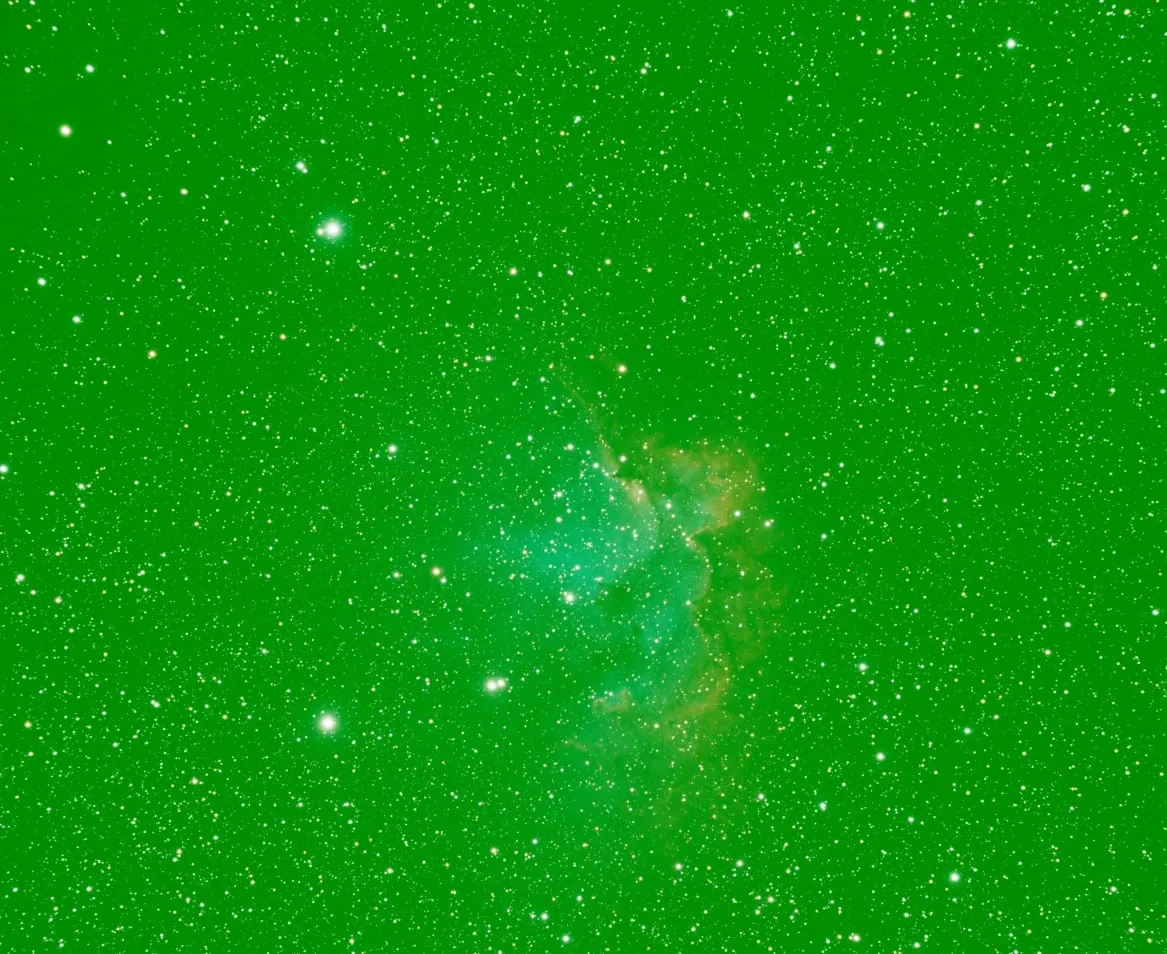
With the autostretch: there it is! (and green)
Linear: the light exactly as it arrived
The stacked image is linear: if a star sent a hundred times more light than the nebula, the image holds a value a hundred times larger. The trouble is that the faint nebula and the background take up barely the first 1% of the values, and the screen, which is linear too, paints them almost black. The stars, on the other hand, do show.
Stretching means making it non-linear: brightening the shadows a lot and the highlights a little, like turning the whispers up without the shouts blowing out. Look at the drawing to see where the same objects land before and after:
And why green?
Color cameras have two green pixels for every red and blue one (the Bayer matrix), and light pollution tends to lean green too. When the program brightens the image automatically, that surplus green gets exaggerated. It goes away when you calibrate the color, a few steps further on.
Seeing it without touching it: the screen stretch
Almost every program has a display-only stretch. In Siril it’s at the bottom right: a dropdown that says “Linear” (the image as it is, black) which you can change to “AutoStretch” (the image brightened so you can see it). In PixInsight it’s called the STF. Take a look at these real screenshots:
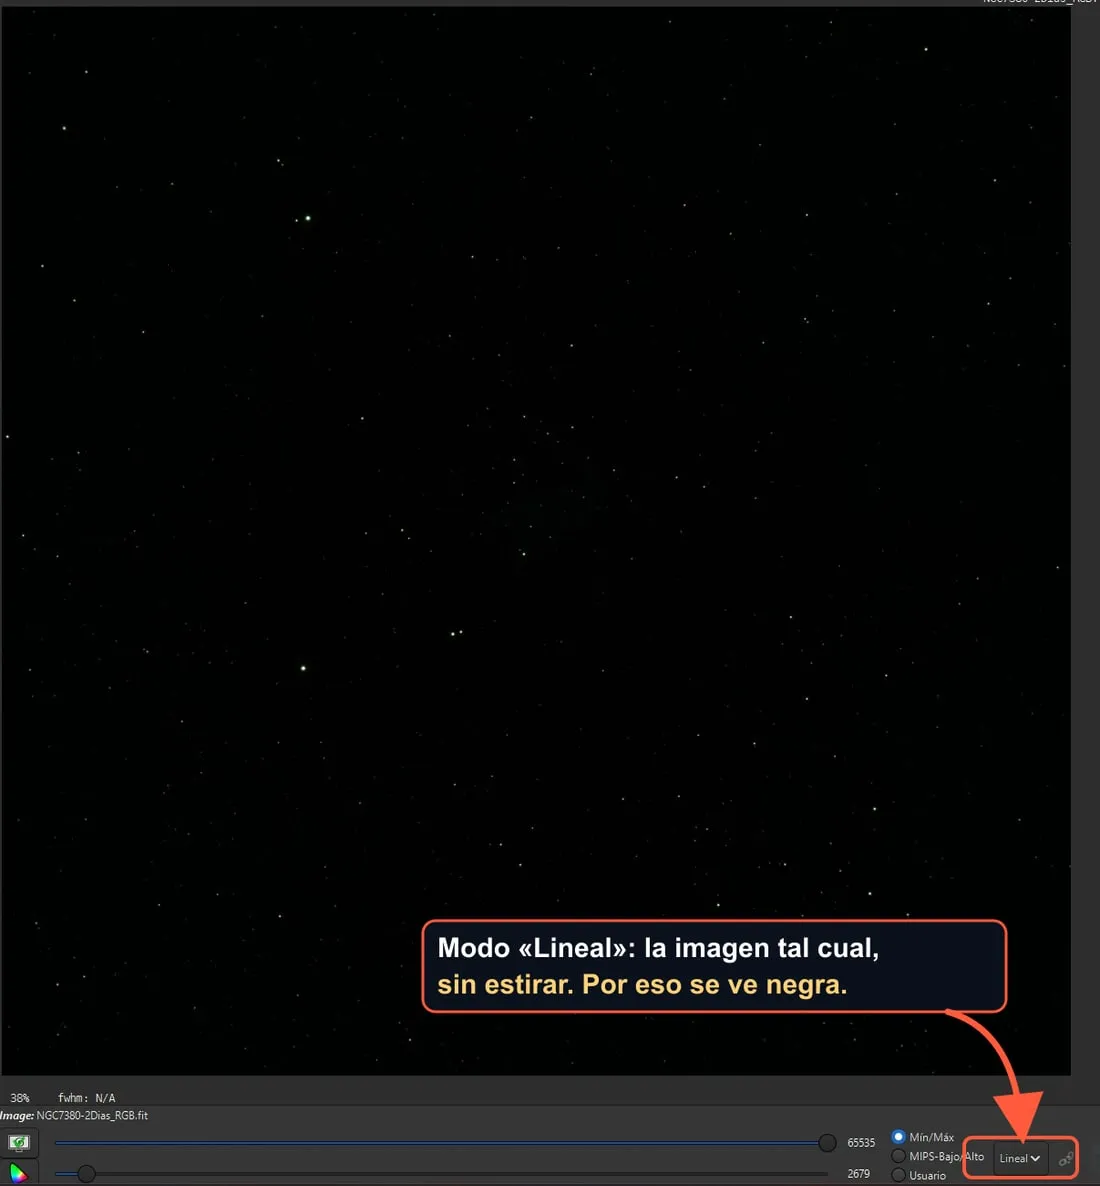
1. “Lineal” (Linear) mode: the image as it is, unstretched. That’s why it looks black
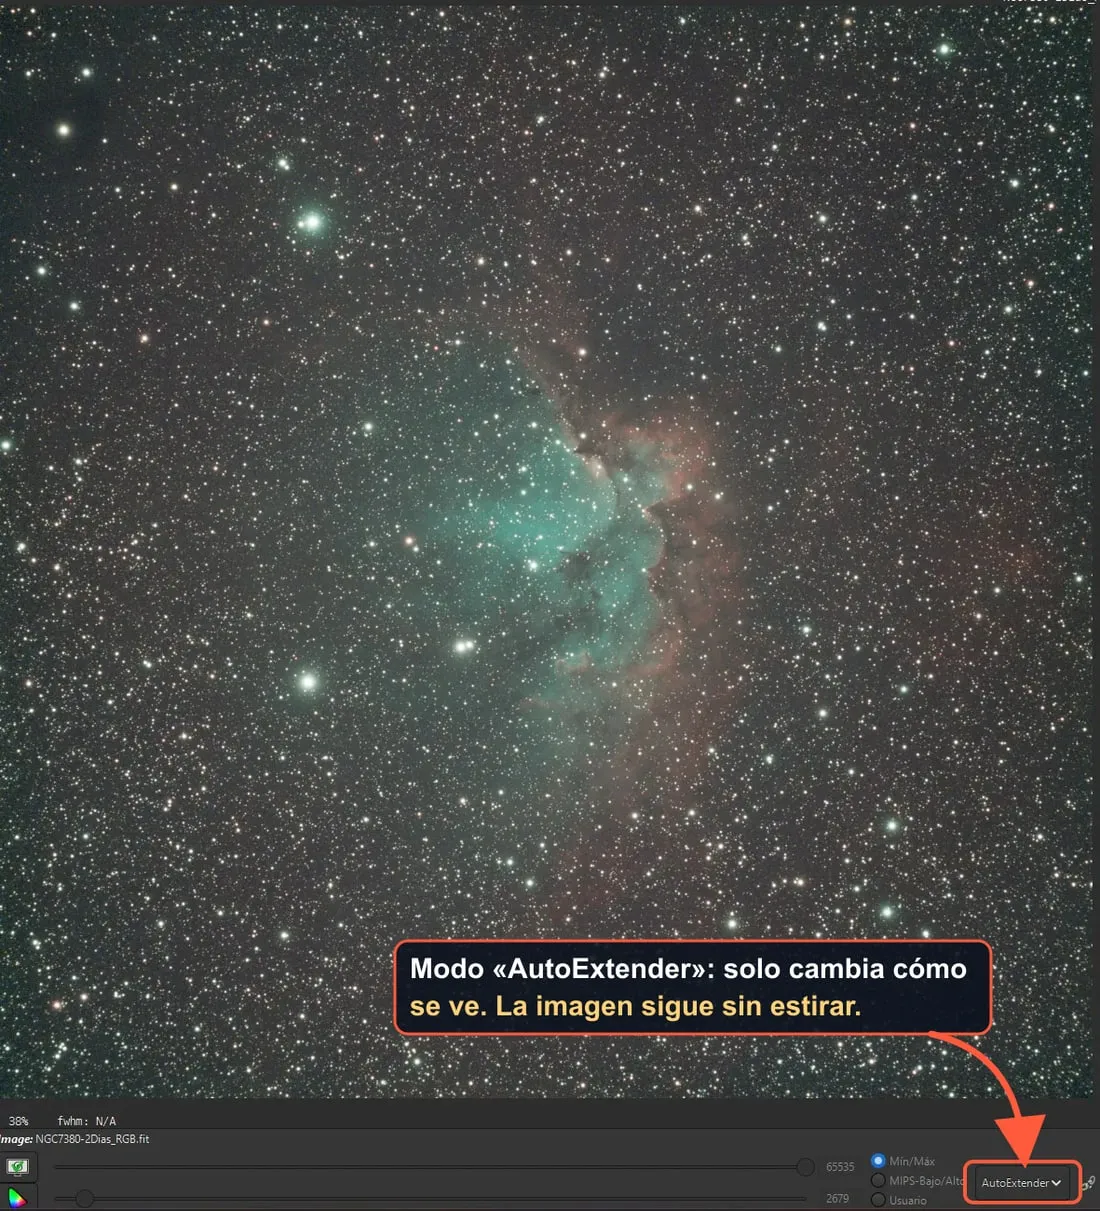
2. “AutoExtender” (AutoStretch) mode: only the display changes. The image is still unstretched
- With “AutoStretch” you can see it clearly, but the image is still unstretched: all that changed is how it’s displayed.
- If you save it like that and open it in another program, it comes out black again. You’ve lost nothing: the AutoStretch isn’t saved.
- From here the whole job is still ahead: removing the gradient, the color, the real stretch and the final touches, each with its own tool. They’re in the steps that follow.